


How to Find Faulty Components on PCBs: A Comprehensive Guide
Troubleshooting printed circuit boards (PCBs) can be a daunting task, but with a systematic approach, it becomes manageable and efficient. This guide provides a step-by-step process to identify faulty components on PCBs, along with methods tailored to specific component types and advanced techniques for batch inspection.
Step-by-Step Guide to Finding Faulty Components on PCBs
Step 1: Power Down the Circuit
- Instructions: Turn off all power to the circuit and disconnect the power cord from the AC outlet (if applicable).
- Why It Matters: Ensures safety and prevents further damage to the board or components.
Step 2: Check the Fuses
- Instructions: Use long-nosed pliers to remove the fuse and inspect it.
- For glass fuses, check the filament (a broken filament indicates a blown fuse).
- For ceramic fuses, use a multimeter set to continuity mode. A beeping sound indicates a good fuse.
- Why It Matters: Blown fuses are often the first sign of a fault in the circuit.
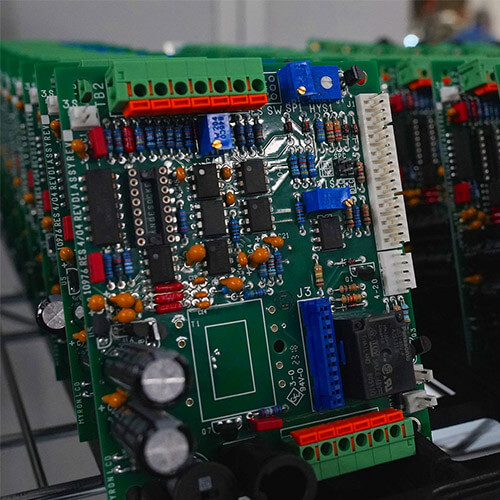
Step 3: Visually Inspect the PCB
- Instructions: Look for obvious issues such as burn marks, raised components, or poor connections.
- Brown burn marks indicate overheated components.
- Dim or discolored traces may signal bad connections.
- Why It Matters: Visual inspection can quickly identify physical damage or overheating.
Step 4: Inspect Live Components
- Instructions: Carefully touch various locations on the PCB to detect hot spots, which may indicate faulty connections or components.
- Why It Matters: Overheating components are often a sign of failure.
- Safety Note: Avoid direct contact with live PCBs to prevent electric shock.
Step 5: Test Individual Components
- Instructions: Use a multimeter to test resistors, capacitors, and other components.
- Compare readings to specified values. Higher-than-expected values may indicate a faulty component.
- Why It Matters: Ensures each component is functioning within its rated parameters.
Step 6: Test Integrated Circuits (ICs)
- Instructions: Compare the suspected IC to a known functional one.
- If a socket is available, replace the IC with a spare and test the circuit.
- Why It Matters: ICs are complex and difficult to diagnose individually; comparison simplifies the process.
Step 7: Check the Power Supply
- Instructions: Measure the voltage of the power rails using a multimeter.
- A 0V reading indicates a short circuit, which can cause components to overheat.
- Why It Matters: Ensures the power supply is delivering the correct voltage.
Step 8: Compare with a Good Board
- Instructions: Visually and electrically compare the faulty board to a known good one.
- Look for differences in component values, burn marks, or misplaced parts.
- Why It Matters: Identifies discrepancies that may point to the fault.
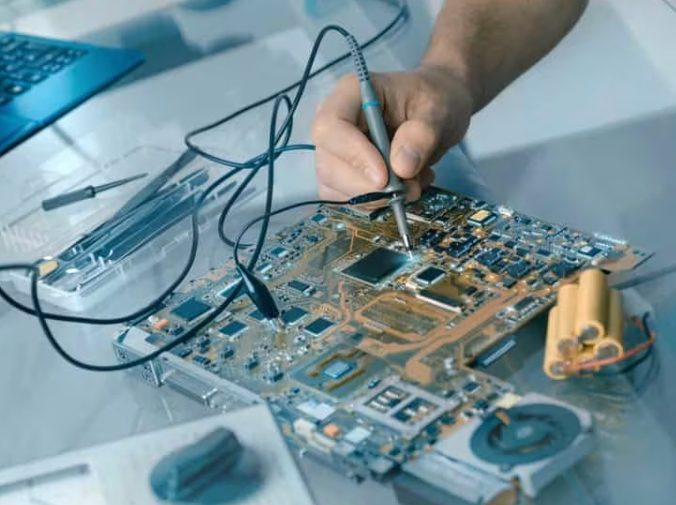
Step 9: Use Advanced Tools for Complex Circuits
- Instructions: For complex circuits, use a multimeter and waveform capture equipment to perform signal probing and waveform analysis at different test points.
- Why It Matters: Provides deeper insights into circuit behavior and fault locations.
Finding Faulty Components by Type
Electrolytic Capacitors
- Method: Visually inspect for bulging or leakage. Use a multimeter to check continuity and capacitance.
- Keyword Integration: Faulty capacitors often show physical signs like bulging or discoloration.
Diodes
- Method: Use the multimeter’s diode function. Measure voltage drop: 0.1V (Schottky) to 0.7V (rectifier) or 1V (LED).
- Keyword Integration: A diode with no voltage drop or infinite resistance is likely faulty.
BJT Transistors
- Method: Use the multimeter’s diode function to test base, collector, and emitter pins.
- Keyword Integration: NPN and PNP transistors have specific polarity requirements for testing.
Coils and Transformers
- Method: Measure resistance. Coils should have low resistance, while transformers should show consistent resistance across primary and secondary coils.
- Keyword Integration: Open circuits or inconsistent resistance values indicate faults.
Resistors
- Method: Measure resistance on the board. Lower-than-expected values may indicate parallel connections.
- Keyword Integration: Visually inspect for damage before testing.
Field Effect Transistors (FETs)
- Method: Test with a multimeter after removing from the board. Check for parasitic diode behavior.
- Keyword Integration: FETs require precise pin identification for accurate testing.
Integrated Circuits (ICs)
- Method: Refer to the datasheet for voltage and signal behavior. Compare input/output readings to expected values.
- Keyword Integration: Complex ICs require detailed knowledge of their functionality.
Advanced Methods for Batch Inspection
1. Visual Inspection with Automated Optical Inspection (AOI)
- Method: Use AOI machines to scan PCBs for defects such as missing components, solder bridges, or misaligned parts.
- Keyword Integration: AOI systems capture multiple images for comparison, flagging mismatches as errors.
2. Flying Probe Testing
- Method: Use flying probe testers to identify shorts, opens, and incorrect components.
- Keyword Integration: Ideal for detecting defects in IC diode protection and resolving issues on high-density interconnect (HDI) boards.
3. Thermal Imaging
- Method: Use thermal cameras to detect overheating components or poor solder joints.
- Keyword Integration: Thermal imaging highlights hot spots that may indicate faults.
4. X-Ray Inspection
- Method: Use X-ray machines to inspect internal layers and hidden solder joints.
- Keyword Integration: Effective for identifying faults in multilayer PCBs or ball grid array (BGA) components.
Finding faulty components on PCBs requires a combination of visual inspection, electrical testing, and advanced diagnostic tools. By following a systematic approach and leveraging specialized methods for different component types, you can efficiently identify and resolve issues. For batch inspection, automated tools like AOI, flying probe testers, and thermal imaging can significantly enhance accuracy and speed.